Wednesday, April 16, 2014

Easter Bingo - Free Printable!

Maybe it's just us but this family loves Bingo. We found a Halloween Bingo game from The Crafting Chicks
that we printed out and played almost through Thanksgiving. We used it as a way to dish out our Halloween candy a little more gradually.

So, why not implement the same thing for Easter candy? Not that you need a reason for a good game of Bingo, though. Feel free to save and print the images for yourself! Just make sure you print an extra one out for calling cards. Happy Easter!


Card 1

Card 2

Card 3

Card 4

Thursday, April 10, 2014

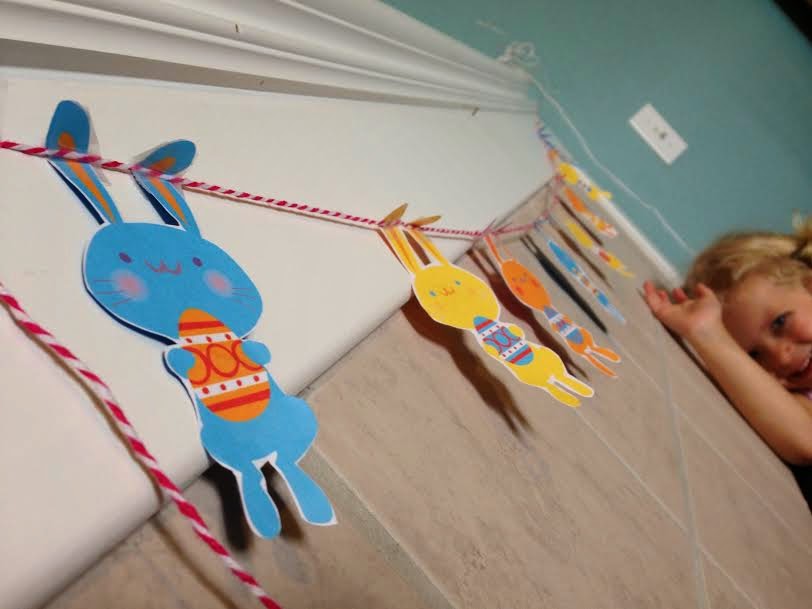
Easter Bunny Garland - FREE

Easter is on its way and we are so unprepared! I plopped 3 Easter eggs on the mantle and that's the extent of our holiday decor.
Thanks to happythought for our festive addition!
This garland is ADORABLE. And EASY. And FREE.


Follow this link over to happythought to input your email to print off your own!

Tuesday, April 8, 2014

Toilet Paper Roll Bunnies


We made these a few years ago with a toddler friend of ours using two toilet paper rolls and scrapbook paper (oh, and the ever essential googly eyes).

At the time they were both 2 so I did the cutting and most of the glue work but they enjoyed decorating them and it kept their attention for a solid 10 minutes so that's a win!

I thought they turned out pretty gosh darn cute.


Recycling doesn't get much cuter.

Sunday, April 6, 2014

Marbled Milk Paper

It's springtime so, naturally, we're a little obsessed with rainbows and color.
I've also been desperately trying to find easy crafts that I already have the supplies for to keep my 4 year old busy.

In comes Marbled Milk Painting to save the day!

Thank you to babble dabble do for the idea!

Materials needed:
Milk (I use almond milk)
Dish soap
Q Tips or Toothpicks
Food coloring
Watercolor paper (Unfortunately, we did not have watercolor paper so I used regular ol' computer paper which didn't turn out quite as pretty)
Tray/Shallow dish

Step 1: Cut your watercolor paper to a size that easily fits in your dish/tray. (Keep the trimmed paper nearby, you'll want to work quickly once the colors are swirled!)

Step 2: Pour roughly 3 - 5 tablespoons of milk into the dish. (Enough milk that a thin layer covers the bottom of the dish.)

Step 3: Add drops of different colors of food dye in the milk around the dish.

Step 4: Add drops of dish soap around the food coloring. The dish soap will start interacting with the colors!

Step 5: Use a Q Tip or toothpick to start swirling the colors.


Step 6: Before the colors get too mixed together (like above...) dip one of the sheets of paper into the colors. Press gently. Lift and set aside to dry. Repeat!

We're going to do this again with watercolor paper - it will definitely turn out even more pretty!