Tuesday, December 10, 2013

Christmas!! (Preschool Style)

To catch last year's ADVENTure, click here!
It is, literally, the most wonderful time of the year. 

To start the Christmas extravaganza off, here's a list of our favorite Christmas books we're reading!


  • Mo Smells the Holidays by Margaret Hyde (book applicable to Halloween, Thanksgiving, Hannukah, Christmas and New Years)
  • Asleep in the Stable by Will Hillenbrand
  • Who's Getting Ready for Christmas by Maggie Kneen
  • That's Not Santa! by Leonard Kessler
  • The Story of Holly and Ivy by Rumer Godden
  • Santa's Favorite Story by Hisako Aoki
  • Gingerbread Baby by Jan Brett
  • Gingerbread Friends by Jan Brett
  • Bear Stays Up for Christmas by Karma Wilson
  • The Friendly Beasts by Tomie dePaola
  • Llama Llama Holiday Drama  by Anna Dewdney
  • I've Seen Santa! by David Bedford
  • Santa Comes to Little House by Laura Ingalls Wilder
  • How the Grinch Stole Christmas by Dr. Seuss
  • The Golden Christmas Treasury by Rick Bunsen
  • Thank You, Santa by Margaret Wild
  • The Polar Express by Chris Van Allsburg
  • The Night Before Christmas by Clement C. Moore (I love the one we have illustrated by Bruce Whatley)
  • Animals with Baby Jesus (That's one we made from 1+1+1=1's Nativity printable pack!)
We began the month out with a ton of material from 1+1+1=1 (which totally confuses my brain when I read it). This link here is the rundown of the plethora of printables, activities and exercises she offers that are different than many other's I've found.
From the above link there is a Nativity Pack we're having a lot of fun with!

Doing exercises like this

and this

 and making up size comparison games.

This nativity pack also included a graphing game that we actually had a lot of fun with! I know, "graphing game" sounds like a horrible way our junior high math teacher tried to fool us into thinking math was fun. It wasn't junior high and it was fun. Try it!
   

This was Bella's victory pose.


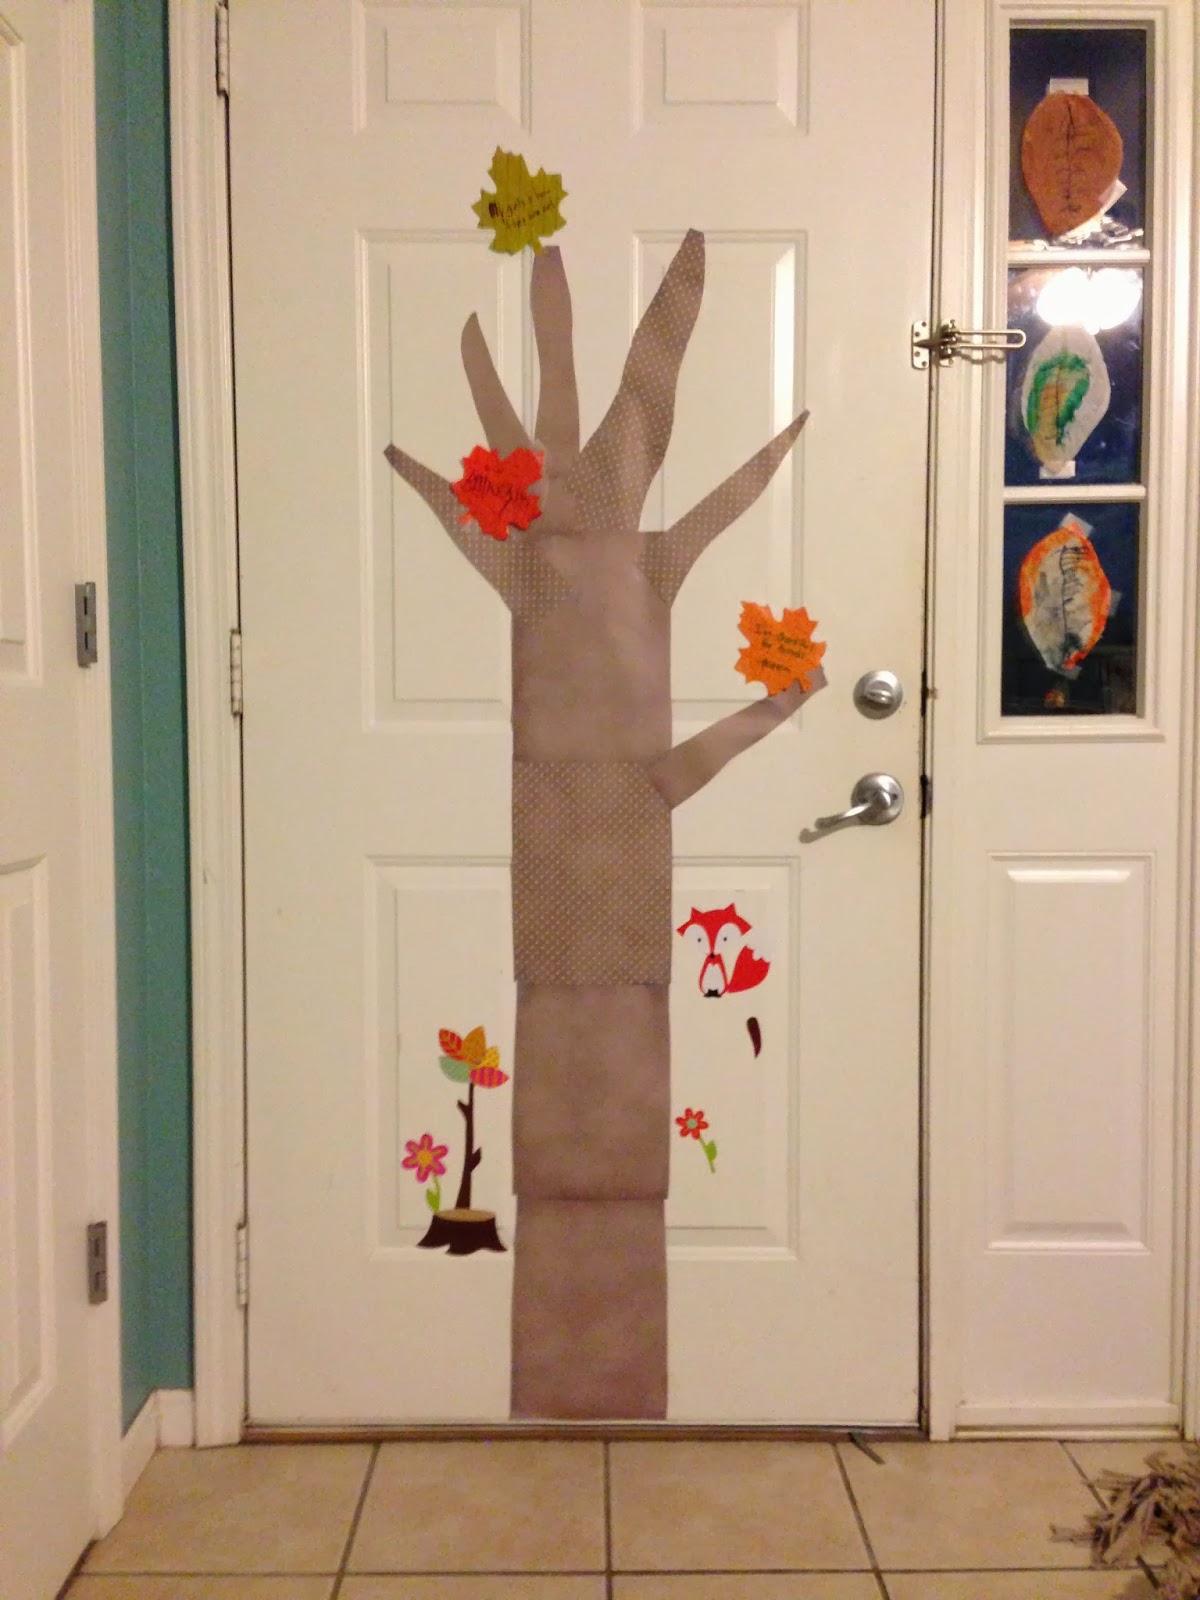
This is not really a preschool craft or activity but Bella helped me make it so...I guess it is now!


I've plugged Oopsey Daisy so many times and guess what? I'm doing it again. She had these action cards similar to some Halloween ones of hers that we really enjoyed so I had to use those again.
You can print yours out HERE.
The 4 of us squealed and laughed playing with these so, naturally, I highly recommend them!

These alphabet mazes were also a good time killer and helped with our introduction to lowercase lettters!

Christmas trees!
Somehow I thought my 11 month old could help me make her own tree. She was bent on destroying her sister's instead.


Bella loves the books Gingerbread Baby and Gingerbread Friends both by Jan Brett so after reading Gingerbread Friends one afternoon we made some of our own.


PS: Jan Brett offers coloring pages for her books at this link here!

Christmas play dough!


We made this play dough using Teaching 2 and 3 Year Old's recipe. It calls for added peppermint extract, glitter and vanilla extract. Genius!

Dude. Ok. I think the songs with little actions to them are cute when kids do them but I feel like SUCH an idiot doing them. But Bella really enjoys them so, alas, I broke down. Here are a couple that we've been singing this month:

(sung to the tune of Row Row Row Your Boat)
(hold hands in pairs facing each other, just like in Row Row, but pretend to be in sledges whooshing through the snow!)
"Christmas day is coming soon,
Santa’s on his way!
Bringing toys for girls and boys,
On his magic sleigh!"

(sung to the tune of Are You Sleeping?)
"Christmas Pudding, Christmas Pudding,             (hold an imaginary bowl)
Nice and Hot (blow)  nice and hot, (blow)                   (blow on the hot pudding!)
Sprinkle on the sugar, sprinkle on the sugar,     (sprinkle imaginary sugar)
Eat the lot!  Eat the lot!  "                 (pretend to eat it & rub your tummy!)


ADVENTure 2013:
Last year our advent mittens were a serious hit with my then 2 year old. I bought the mittens at Hobby Lobby for a whopping $3 and added activities and other fun things to do each day to the back of them. With the introduction of the Kindness Fairies this year (mentioned below) it changed up some of our mittens so I'm looking forward to seeing how it all plays out!

Day 1: Watch a Christmas movie with egg nog! 
This girl. I tell you. She loves her some egg nog. We watched Santa Paws (lucky us) and had to ration the egg nog throughout the evening. It was a wonderful start to the Christmas season!

Day 2: A note from the Kindness Fairy, Floriella
Floriella had left her note for Bella that morning and when Bella returned from preschool she went down to get her Day 2 mitten and found Floriella with another note attached to her mitten! It read something like, 'Let's do something nice for the family today!'. I don't really know that that actually happened but it was a nice idea.

Day 3: Make something special for breakfast!
That morning we made Eggnog French Toast with a recipe I found from Adventuress Heart. It made for a cozy, festive morning :)

Day 4: Make a treat for a neighbor!
So, maybe I took an easy out here, but we have to make as many dozens of cookies as we can for a fundraiser for Bella's preschool. So we decided to put our efforts into making them for the school instead of giving them to a neighbor, which, maybe isn't the most generous thing to do to spread Christmas cheer...but it will make the school some money so, that's Christmas cheer, right?

Day 5: Take treats to daddy's work!

Day 6: Follow the clues to a special surprise!
Oh boy, Bella followed the clues to a new fairy friend, Brilliana!

Day 7: ...I've lost the mitten and have no idea what we did.
Yup.

Day 8: Write a letter to someone!

Day 9: Make a card for someone!

Day 10: Follow the clues for a special surprise! Watch a Christmas movie!
Mom fail: I totally forgot to set up the "clues" to introduce the new Kindness Fairy. Bigger mom fail: it didn't dawn on me until after I finished reading the mitten. She gasped and started looking behind her where she had found a note the first time. It's then I had to fess up and say I forgot to get things ready. Her face melted and she let out a cliche "Awwww" of disappointment. And then, ever so quickly, I exclaimed, "Ohhhh I just read the wrong part!" and peeled off the "fairy clue" note I had taped over last year's "Watch a movie" action. She cheered and we ran up stairs. Phew.

Kindness Fairies:
We're also doing something different this year: we've introduced Kindness Fairies thanks to The Imagination Tree. It's an alternative to the Elf on the Shelf that encourages small, daily acts of kindness. That's not to say the Elf needed an alternative, necessarily, but let's just face it: he's a little creepy. And this way I don't have to buy an elf.
I love the playfulness of the Elf but don't care for anything else about him. I was going to have Bella's stuffed animals pull similar Elf shenanigans until the Kindness Elves were introduced and, oh, how perfect, I had 5 fairy ornaments I was going to surprise Bella with anyway. Thus, the Kindness Fairies will be making their appearance throughout the month!

First up was Floriella, who left a note and fairy dust for Bella to wake up to:
The first thing Bella said was, "What is all this glitter?" The next thing Bella said was, "I didn't do it..."


And there she was!


The next day, Floriella played a game of Honey Bee Tree with some of Bella's friends.
Jewels the monkey won.

She also had a note for Bella encouraging her to do something nice for someone at school that day. Bella told me she didn't do anything, though, even though I said Floriella would love if she did. Oh well, we'll try again.

  Also, she flew to daddy's work on a unicorn and wrangled a nasty dragon. She may be sweet with a side of hoaky but she can kick some tail. (Wow. Shameful pun.)

On one of her ADVENTure mittens, she was instructed to follow clues upstairs where she would find a new fairy friend, Brilliana! (BTW, I didn't actually name these fairies. Their names are on their boxes. Shh.)

When we came home from preschool there was a note on the garage door saying the fairies needed help! Bella found them up in the fan!


And then they got into our cookies we got from preschool. Geeeez.

Chillin with Ariel.


Tuesday, November 26, 2013

One Pot Mexican Skillet

All I will preempt this post with is:
OMG I PUT THIS ALL IN ONE POT AND IT'S DONE AND DELICIOUS.

So, go ahead. Take my word for it and try it. I mean, look at it:
Yup. That took 30 minutes to make, folks. Oh, and it fed us for like, 3 days.
Original recipe from Damn Delicious

One Pot Mexican Skillet

1 tablespoon olive oil
1 lb ground turkey (or beef)
1 (15 oz) can tomato sauce
2 cups salsa
2 cups cooked elbow pasta
1 Roma tomato, diced
1 cup corn kernels (I used a whole can)
1 cup canned black beans, rinsed (again, I used a whole can)
1/2 cup shredded cheddar cheese
1 avocado, halved, seeded, peeled and diced
2 tablespoons chopped fresh cilantro

Heat olive oil in a saucepan over medium high heat. Add ground turkey and cook until browned, about 3- 5 minutes. Drain. 

Stir in tomato sauce and salsa until well combined. Add pasta, tomato, corn and black beans and gently toss to combine. 

Stir in cheese until melted through. 

Serve topped with avocado and cilantro. 

Tuesday, November 19, 2013

DIY Chalkboard Tree Topper

During Christmas of 2012 my tree topper broke and I was actually somewhat thankful that I had a legitimate reason to throw it out (it had been through one too many Christmases and one too many out of city moves). I threw it out knowing I'd be hitting up the after Christmas sales for a new one.

Until Christmas 2013 came around and I realized I was so miserably pregnant last Christmas that I wasn't going anywhere unless it was to get a baby out of my blimp body.

So this year I was tree topless and my tree looked sad (and skanky. I mean, put a top on, seriously.)

And then I remembered I had little chalkboard painted signs I had made for a photo prop and if it had been a terribly produced movie, Christmas choruses would have began sounding.

Let's pretend a child wrote that and not an adult with poor penmanship. It's cuter that way.  

Lo and behold. I did something and thought, "...I should pin that." So I did. Yay, Christmas!

NOTE: If you want yours to look similar to how I made mine, I simply bought a wooden plaque from Hobby Lobby for $1.47, used wood glue and glued it to two wooden skewers (because it's what I had in the kitchen though you really can attach it to anything sturdy. A stick from outside will do.) and then painted it with chalkboard paint. 
My husband would be so proud of the money we saved by my forgetting to buy a tree topper the year before!

Wednesday, November 13, 2013

Words I'm Sick of Hearing:

GOP (just stop.)
LIBERALS (I'm obviously done with politics)
CRUNCHY (as in mom. Crunchy mom. Whatever the hell a crunchy mom is.)
YUMMY (No one over the age of 9 should be saying "yummy")
MILLENNIALS (STOP with the labels. I don't need a new label to slap on myself in order to identify with something or someone.)
OBAMACARE (I totally understand that this is a deal and that most everyone has a very strong opinion about it but loudly voicing it isn't changing anything worthwhile.)
SELFIE  (It's not at all cute anymore for you take a selfie and hashtag selfie yourself. Dumb and done.)


 List to be expanded as I find myself increasingly annoyed.

Tuesday, November 12, 2013

Thanksgiving

Thanksgiving! Preschool style! Go!

On November 1st I dug through my scrapbooking paper and plastered a Thankful Tree on our front door. It probably goes without saying because most people have seen a variation of some sort of this, but the idea is to place a leaf  on the tree for each day of the month representing something you're thankful for. I was really looking forward to trying this out this year because I've seen all kinds of versions of this. 

However, parents of children over 2 know about these "rebellious seasons", if you will, that children fall in and out of. We've been coasting drama free for months so I knew it was coming. But, day 2 of the Thankful Tree was the beginning of yet another phase of No's, sassy attitude, snobby disposition, etc. So, getting her to even tell me something she's thankful for is a chore leaving our tree looking not only naked but pretty ungrateful. 

I say all that to shred apart any kind of idea that this house is a crafty and adorable little seasonally appropriate paradise where children happily glue googly eyes to anything and prance around singing our new holiday songs with visual aids flailing around in the air. Oh, no. Oh. No. 
If I looked like a creepy dead hand, I would probably be pretty ungrateful too.
She was interested in making a toilet paper roll turkey, though. 

 I'm plugging my favorite blog's resource again, so here it comes. Oopsey Daisy's Mommy School packet about Thanksgiving had lots of cute printables, games and songs. One that was a HUGE hit was the Turkey Hunt! I printed off the provided turkeys, laminated them and taped them around her room. When I called her in she lit up with excitement - so worth it!

Isla even found one! 
I can't help but collect leaves when it's autumn. I never do anything with them except leave them laying around the house to crumble and clutter, which is weird. But not this year! This time we used leaves we collected to make a turkey with leaf feathers
Finally. A use for my obscure collecting habits.
My husband had the genius idea to use a leaf to create his beak too. Props and applause, husband. I like it.
The Mommy School packet also provided a book about Thanksgiving Colors that we laminated and hole punched to clip onto a...I don't know what that's called. Binder ring? Whatever, you've probably seen one before. What I love about this is it's one of the few things I can actually include my 10 month old in playing with and my 3 year old can read it by herself. Awesome. 
Blogger keeps uploading this upside down. Lame.
 Once again, the Mommy School packet provided another fun game for us to play - T riddles! I probably assembled them the hardest way possible, but it worked. I cut them out, laminated them, then hot glued the clue card and the picture card to the front and back of  a piece of cardboard. 


During this activity, the totally sassy and rebellious 3 year old teenager appeared again. The goal was to go through my (excessive) pile of magazines (because who has time to READ) and cut out pictures of food we would see at a Thanksgiving meal. It was an opportunity to work on our scissor cutting skills, learn about nutrition and portion size, blah blah, all good intentions. 

She refused to acknowledge that I was talking to her for a little while and when she finally answered my question of, "What the heck is the green food item up there and is it a fruit or vegetable", she said it was popcorn which she then said was a fruit. If she really thought that it was popcorn and that popcorn was a fruit, then ok, a lesson on food is needed and great. But she was a twerp about it. You just know your kids and know when they're being a smartass. (Sorry, sometimes that's just what they are.) So, I wasn't amused at all.
For her grand rebellious finale, she insisted that a giant plate of turkey was all she wanted, needed and was going to do. WELL. SCREW portion control and the food pyramid. Any other day I would have said, "Hey girl, I don't blame you! Now fill that plate with gravy and let's go!" but today was not that day. Because today wasn't Thanksgiving. And I was mad. So, here's a picture of our heaping plate of L-tryptophan.

On a lighter note, here's a coloring page I found somewhere a year or two ago! 
You should be able to save this image and then print it off if you're interested in coloring it!

Another game Mommy School had to print out was a letter game called Gobble, Gobble Game.  Sounds kind of lame but Bella really loved it, which is what matters. :) The way we played it, we each took turns drawing a turkey and if you could identify the letter and the sound it made then you could keep the turkey. The person who had the most letters at the end of the game wins! (And gets a piece of Halloween candy.) The twist in the game is that there are some turkeys that just say "Gobble!" and when that turkey is drawn, everyone has to run around the room acting like turkeys. Like I said earlier, you feel super dumb doing that but your kids laughing and genuinely enjoying every bit of it is totally worth it. 
To get the game, download the Thanksgiving packet here!

This isn't Thanksgiving related but Bella has been needing to work on her teen numbers so I made a number maze (using our kitchen tiles as a guide) to help her learn the sequence between 10 and 20.


This also isn't technically Thanksgiving related but it's a fall-ish counting dice game we used to distribute our snacks for snack time. You can get it from The Measured Mom along with a lot of other fall math activities.


Wednesday, November 6, 2013

Sweet Tomato Basil Soup

I am not a big soup person. Neither is my husband. Or my kids, really. (So what am I doing posting a soup recipe...) But it's fall! And we have to make soup! And we're going to do our best to like it, dangit!
So, on some crazy autumn whim, I decided to try this tomato soup recipe out and holy crap. I loved it. It's rich, it has substance, it has a fantastic tomato taste without it being too tiring or overwhelming, if that makes sense. (After a few bites of Campbell's tomato soup, I'm always thinking, 'Yeah...kind of tired of the tomatoes...')
Anyway. I seriously recommend you try this. PLUS, it was easy enough to make that my daughter could help me. (In case you're wondering what the rest of my family thought, my husband and oldest daughter thought it was fine and my 10 month old loved it. In my opinion, that's a very good outcome for a family of non soup enthusiasts.)

Sweet Tomato Basil Soup
Original recipe from 365 Days of Slow Cooking.

1 medium onion, diced
3 Tbsp olive oil
1/3 cup all purpose flour
1 Tbsp dried basil (or about 1/4 cup fresh)
1 tsp oregano
1 Tbsp caramelized tomato paste*
2 (28 oz) cans crushed tomatoes
4 cups chicken broth (or 4 cups water + 4 tsp chicken buillon granules)
1 Tbsp honey
1 tsp salt
1 cup heavy cream, warmed
1/4 cup finely chopped fresh Italian parsley (I actually didn't add this because I didn't have it but I so wish I had!)
Salt and pepper to taste
Grated mozzarella or Parmesan cheese

*You really want to caramelize the tomato paste. The recipe promised a flavor boost and they weren't lyin'. Heat 1 Tbsp of olive oil in a skillet, add 1 (6 oz) can of tomato paste and cook until it reaches a deep crimson color.
(I realize now after typing this out that I did the wrong thing and added ALL of the caramelized tomato paste to the slow cooker instead of the 1 Tbsp it called for. But it was delicious...so if it was wrong, maybe I don't want to be right.)
If you don't want to follow my example, add 1 Tbsp of the caramelized tomato paste to the slow cooker and freeze the rest in 1 Tbsp increments.

1. Add diced onion, olive oil, flour, basil and oregano to a microwave-safe bowl. Stir until blended. Microwave for about 5 minutes. (Stir about every 90 seconds). Transfer to slow cooker.
2. Add in tomato paste*, crushed tomatoes, broth, honey and salt.
3. Stir and cover. Cook on low for 5-7 hours or on high for 3-4 hours.
4. Remove lid and turn to HIGH. Stir in warmed cream and Italian parsley. Salt and pepper to taste. Let cook for another 10 minutes without the lid.
5. Ladle into bowls and top with cheese. Serve with warm bread or rolls (or grilled cheese, if you need the extra comfort food)

The original recipe noted they served it with frozen ravioli for the kids which I definitely plan to try next time. 

Sunday, October 27, 2013

1,000 Words


A life we're enveloped in. A life we've lived.
Tumultuous, invigorating, beautiful and angry. Like the waves in the tide, rolling behind us. Chasing and eager to devour us alive in the fury, the flurry of memories.
Roaring, infused with the power of life. Beautiful, dramatic. Sweeping us together into the promises of a life well traveled, a life well lived, a life blessed with living.

Let go.
We leaped over the railing long ago.

"These rolling hills remind me of what the countryside in Italy might look like," Palmer said.
"We'll find out," I said.


Wednesday, October 23, 2013

Halloween, Pumpkins & Fall - Oh my!

October arrived and you better believe I hoarded as many fall, pumpkin, Halloween and apple activities as I could find. We started off focusing solely on apples to gear up for an apple picking trip we planned for the following weekend.
We started off with apple volcanoes (which were super cool until my super cool 3 year old blazed through a whole bottle of vinegar) and we used apples to make apple and pumpkin stamps. I posted about our apple volcanoes and apple stamping in our Letter A unit post.

All you need: vinegar (food dye optional), baking soda and as many apples as you want to destroy.


Apple stamping is one of the easiest (though messy) activities to keep kids busy for a while. I'll prove it.
Step 1. Cut an apple 
Step 2. Dab in a glob of paint 
Step 3. Stamp
That easy.
We used our stamps to make a card for Grandma!
After making the most of one half of the apple, I carved a Jack O Lantern face into the other half.
Heey Guys!


Boo!
Oopsey Daisy's Mommy School is fan-freakin-tastic. She has downloadable packets that are packed with a little bit of everything. I used her A is for Apple packet to get the bulk of our apple activities, songs and stories. 
In said packet were these apple counting cards we used during snack time (yes, white chocolate chips counted as a snack). 

These paper dolls I found via Pinterest (via my mom and I's shared board) were entertainment that got me through dinner until bedtime. She named them Sabrina and Finley and we drew different adventures for them to go on. (We only got through two different scenarios but it was time well spent!)
Click here for the link!

Another fine product of Mommy School's Halloween packet was a make your own storybook that reads like Brown Bear, Brown Bear. Because of the familiarity with the story and the pictures, she was able to read it herself which she very much enjoyed!

Our goofy looking egg carton bats have been creepin around our hallway for about a week now. They're actually pretty nice so I let them stay.

Pardon me while I take a moment to reveal something that has changed my life. 
Friends, neighbors, family and countrymen: I have just recently discovered the wonder and miracles of the laminator. (You have to say it like Dr Doofenshmirtz. You just have to. It says so on the box.)

It makes tediously cutting out all of these random little things worth it. And it was so easy. And best of all, get this, it was $20 at Aldi. WHAT?? I know. Anyway, onto the important stuff...

The day we went to the pumpkin patch with her preschool class we went over the life cycle of a pumpkin with the flash cards provided in Mommy School's packet.
She got to practice her scissor skills by cutting out the key at the top :)

On another occasion I cut out a pumpkin shape and let her go through my magazines to find all things orange to create a pumpkin collage. This was good color recognition practice for her (we still have trouble getting them all right) but, as you can see in the finished product, she got bored after no more than 5 minutes. Oh well. I'm using it to cover some flaws on the door.

This little monster from the aforementioned Halloween packet got a snazzy little makeover on a rainy afternoon. 

Yet another story with (laminated!) visuals from Mommy School. Her little eyes smile and shine when she watches little characters act out a story. Those are the moments that make me keep doing the print outs, the stories, the activities, the crafts. What some see as silly wasted time are times I can capture a connection with her. And it's awesome.

We made these coffee filter leaves last fall, this fall and probably next fall too. I found them at The Chocolate Muffin Tree's blog and using the same technique you can make just about anything you want to (Easter eggs, flowers, etc).

Leaf animals!

Pumpkin carving is a must in October.

I found this (seemingly) super easy carving alternative from this pin on Pinterest. Of course, it looked soooo easy, and it was, I guess. But I had hoped it was something Bella could easily participate in and it ended up being more of a chore than I anticipated.  You take a cookie cutter and hammer the shape into the pumpkin to easily carve shapes. Awesome! Easy! I have those things already! Well...
We had to hammer it pretty firmly and directly onto the cookie cutter to make any progress (I mean, duh) and neither of those things were easy for Bella to do and she ended up getting frustrated. Also, I should have thought ahead (HA! When have I EVER done that) and measured because the shell of the pumpkin was thicker than the cookie cutter. Mom fail. 
So then we hit the inside of the cookie cutter with the hammer until we punched out the shape. It ended up demolishing a layer of the shell on the inside, but whatever. We did it yaaaay just don't look too close!
Also, the hammer totally destroyed the cookie cutter. A lot of lessons learned from this activity.

Ta daaaa!
Going along with the pumpkin carving, I highly encourage you to save the pumpkin seeds and try making these 
Sweet and Salty Pumpkin Seeds
2 cups fresh pumpkin seeds, rinsed and patted dry
2 tablespoons butter, melted
2 tablespoons sugar
1/2 tsp kosher salt
1/4 tsp ground cinnamon

Heat oven to 300 degrees. Spread the seeds on a baking sheet and bake until dry throughout, 50 to 60 minutes. 
Increase oven temperature to 350 degrees. In a large bowl, toss the seeds with the butter, sugar, salt and cinnamon. Return the seeds to the baking sheet and toast, tossing occasionally, until golden brown, 10 to 15 minutes.

That also brings me to another activity we did: Boo our friends! (Not in the way you think!)
I found a printable from TomKat studio with directions of how to start a Boo chain with your friends and neighbors. We made treats and dropped them off to friends with the downloadable sign attached. Although it was supposed to be anonymous, every single person caught us. Whoops. (Proof we would make the absolute worst spies.)


One of our Halloween books that we've made into somewhat of a tradition of reading is The Little Old Lady Who Was Not Afraid of Anything. I decided to try to think of a craft to accompany the book and, lo and behold, found some printable visual aids for it at Toddler Approved!
Look at that face! I mentioned earlier how much she loves stories with visual aids and that lit up face is proof. Her friend was visiting and loved that the story prompts were a good excuse to yell during the story! He also loved being in charge of the big scary pumpkin head. :)
Another Pinterest craft we had to do: Boo Print Ghosts! Ours came out much messier due to wrangling a 9 month old with white paint all over her. Our yellow crescent moon (made from Bella's fist) also looks a little unusual, but oh well! It was a cute little keepsake that was worth the paint mess. 

We made Jar O Lanterns last year (2012) but I wanted to add them to this list anyway because I saved it and brought it out again this year! I saved some jars (one from spaghetti sauce and one from jam) and  I let the kids paint the inside of them. I printed out some Jack O Lantern face templates that I then cut out and let them tape onto their jar. Then we put a tea lights inside and enjoyed our Halloween lanterns!

October 2012

Last, but not least, we wrapped up Halloween and the end of October with Halloween Bingo that I printed off from The Crafting Chicks. We played it once for fun but we've been using it as a way to dispense Halloween candy gradually (where you get a piece with every win) as opposed to having a free for all with it (not saying that didn't happen...).

PS: If you're feeling super Pinteresty and have an entire 3 hours to kill (which is how long it took me to do it), you can try making these 3-D pumpkin cookies from Glorious Treats.
LOL. The M&Ms inside were my favorite part.